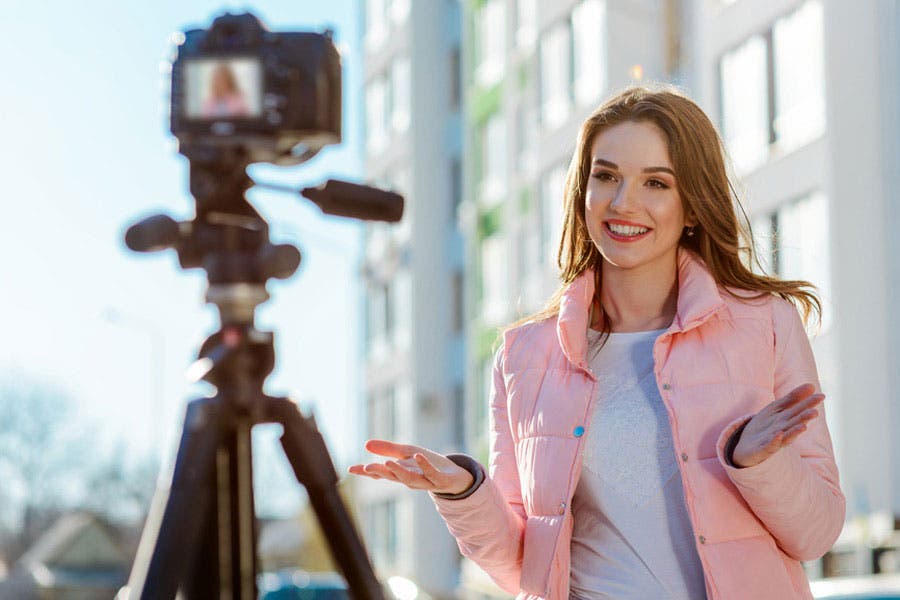
It is essential to consider the lighting when shooting travel vlogs, just as you would when shooting any other type of travel vlog. So here are a few tips and tricks to hit your travel vlogs with perfect lighting.
Lighting with Natural Light for your travel vlogs
There is constant change in natural light, and you’ll get very different lighting depending on the time of day. You should always plan your travel photography excursions according to the time. Keep an eye on the time when you’re taking your shots since you’ll almost always need natural light.
Chase that sun when it’s low in the sky, and you’ll get great footage! The Magic Hour app will help you plan your next trip based on the sunrise or sunset and how long you have to take advantage of that perfect, golden light. Plan your trip during the golden hours to create lovely silhouettes or golden-lit travel photos. Architectural, landscape, and portrait photography benefit from golden-hour lighting.
When your outing is heavily overcast, you will be able to see more colour and detail. Though you can’t always predict this in advance, do your best to stay flexible, and don’t be afraid to adjust if necessary. A cloudy day provides lovely diffused light, ideal for taking intimate portraits, architectural details, and landscapes that focus on the subject instead of the sky.
Arrive At The Location And Carefully Analyse It
Take some time to look around and evaluate the light on location before taking out your camera. Make sure the lighting is of high quality and directed appropriately.
It always pays to take one more look before you shoot since lighting quality is primarily determined by the time of day and weather factors discussed above. You should also consider how light falls when shooting indoors, as walls and doors may diffuse or block the light.
When you’re outside, the sun’s position determines the lighting direction, and if you’re inside, the windows’ position determines the lighting direction. In addition, you can dramatically improve your photos by working with different lighting directions.
A front light, for example, provides even illumination for subjects. Despite its high-detail capabilities, it lacks drama. You should be aware of the effect of the lack of drama regardless of whether it is a bad thing or not.
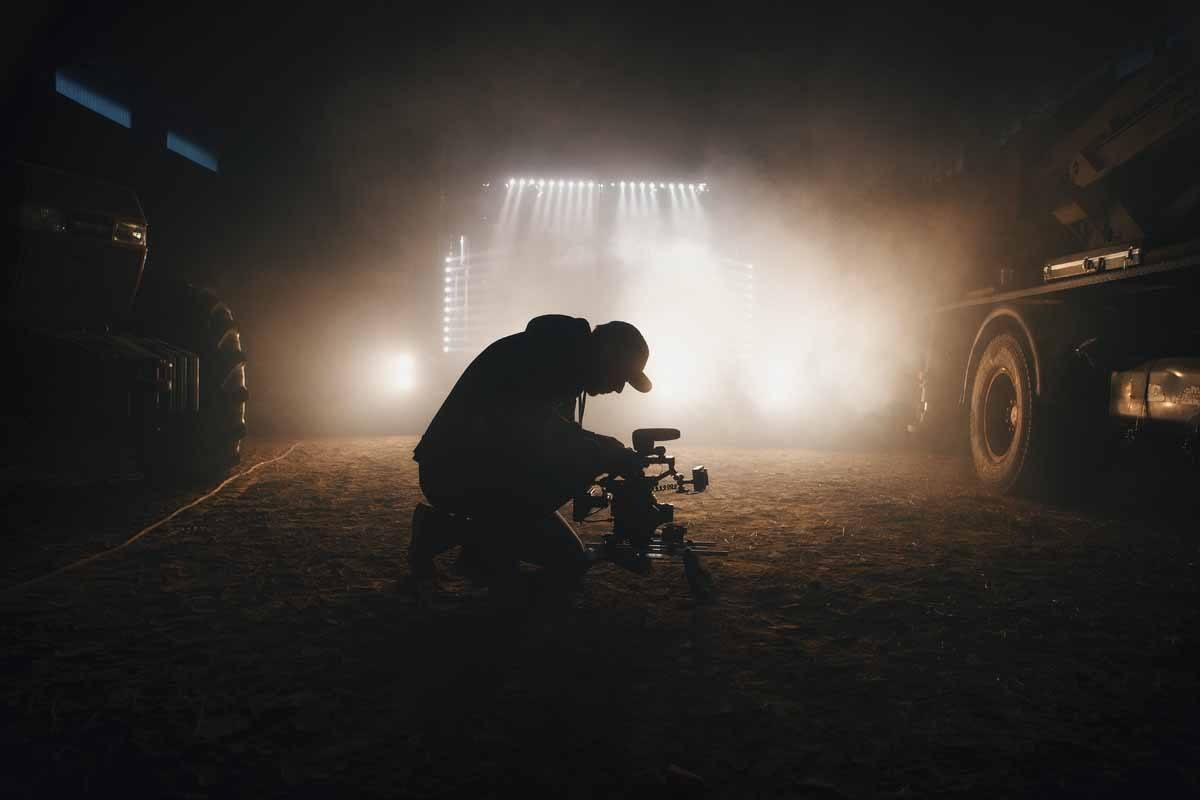
In contrast, the backlight is filled with drama. This tool’s lens flare, silhouettes, and rim effects are unique. Backlight, however, is not suitable for creating detailed or documentary images.
Finally, sidelight can produce images that are dramatic and detailed at the same time. In side lighting, the subject appears well-lit and has beautiful shadows and plenty of texture. Landscape and architectural images can be created easily with this technique, especially when the sun is low in the sky.
Light Conditions Should Be Taken Into Account When Selecting Gear
Be sure to bring the correct equipment when going on a travel photoshoot. Using only your standard camera and lens is often possible if you plan on shooting in bright, midday light. Remote shutter releases travel tripods, and particular lenses won’t be necessary.
For landscape and architectural photography, travellers should bring a travel tripod if the skies are overcast or you’re working indoors. If you don’t have a tripod, you will have blurry images if you narrow your aperture for sufficient depth of field.
During sunrises and sunsets, using handholdable shutter speeds can be effective. The light will be too dim for a deep depth of field at handholdable shutter speeds. You can also use a remote shutter release to avoid generating a camera shake.
The Use Of Artificial Lighting for travel vlogs
Lighting options should be smaller, portable, and rechargeable. Lighting can be kept relatively simple since you are unlikely to pour over three-point light setups. Lume Cube Panel Mini is a great lighting option. With attachments for DSLRs and smartphones. It is possible to use external lighting options with your smartphone, which are lightweight and portable.
Are there any types of light you prefer to use for travel photography? What adjustments will you make to your travel photoshoots in the future? Let us know what you think in the comments!


